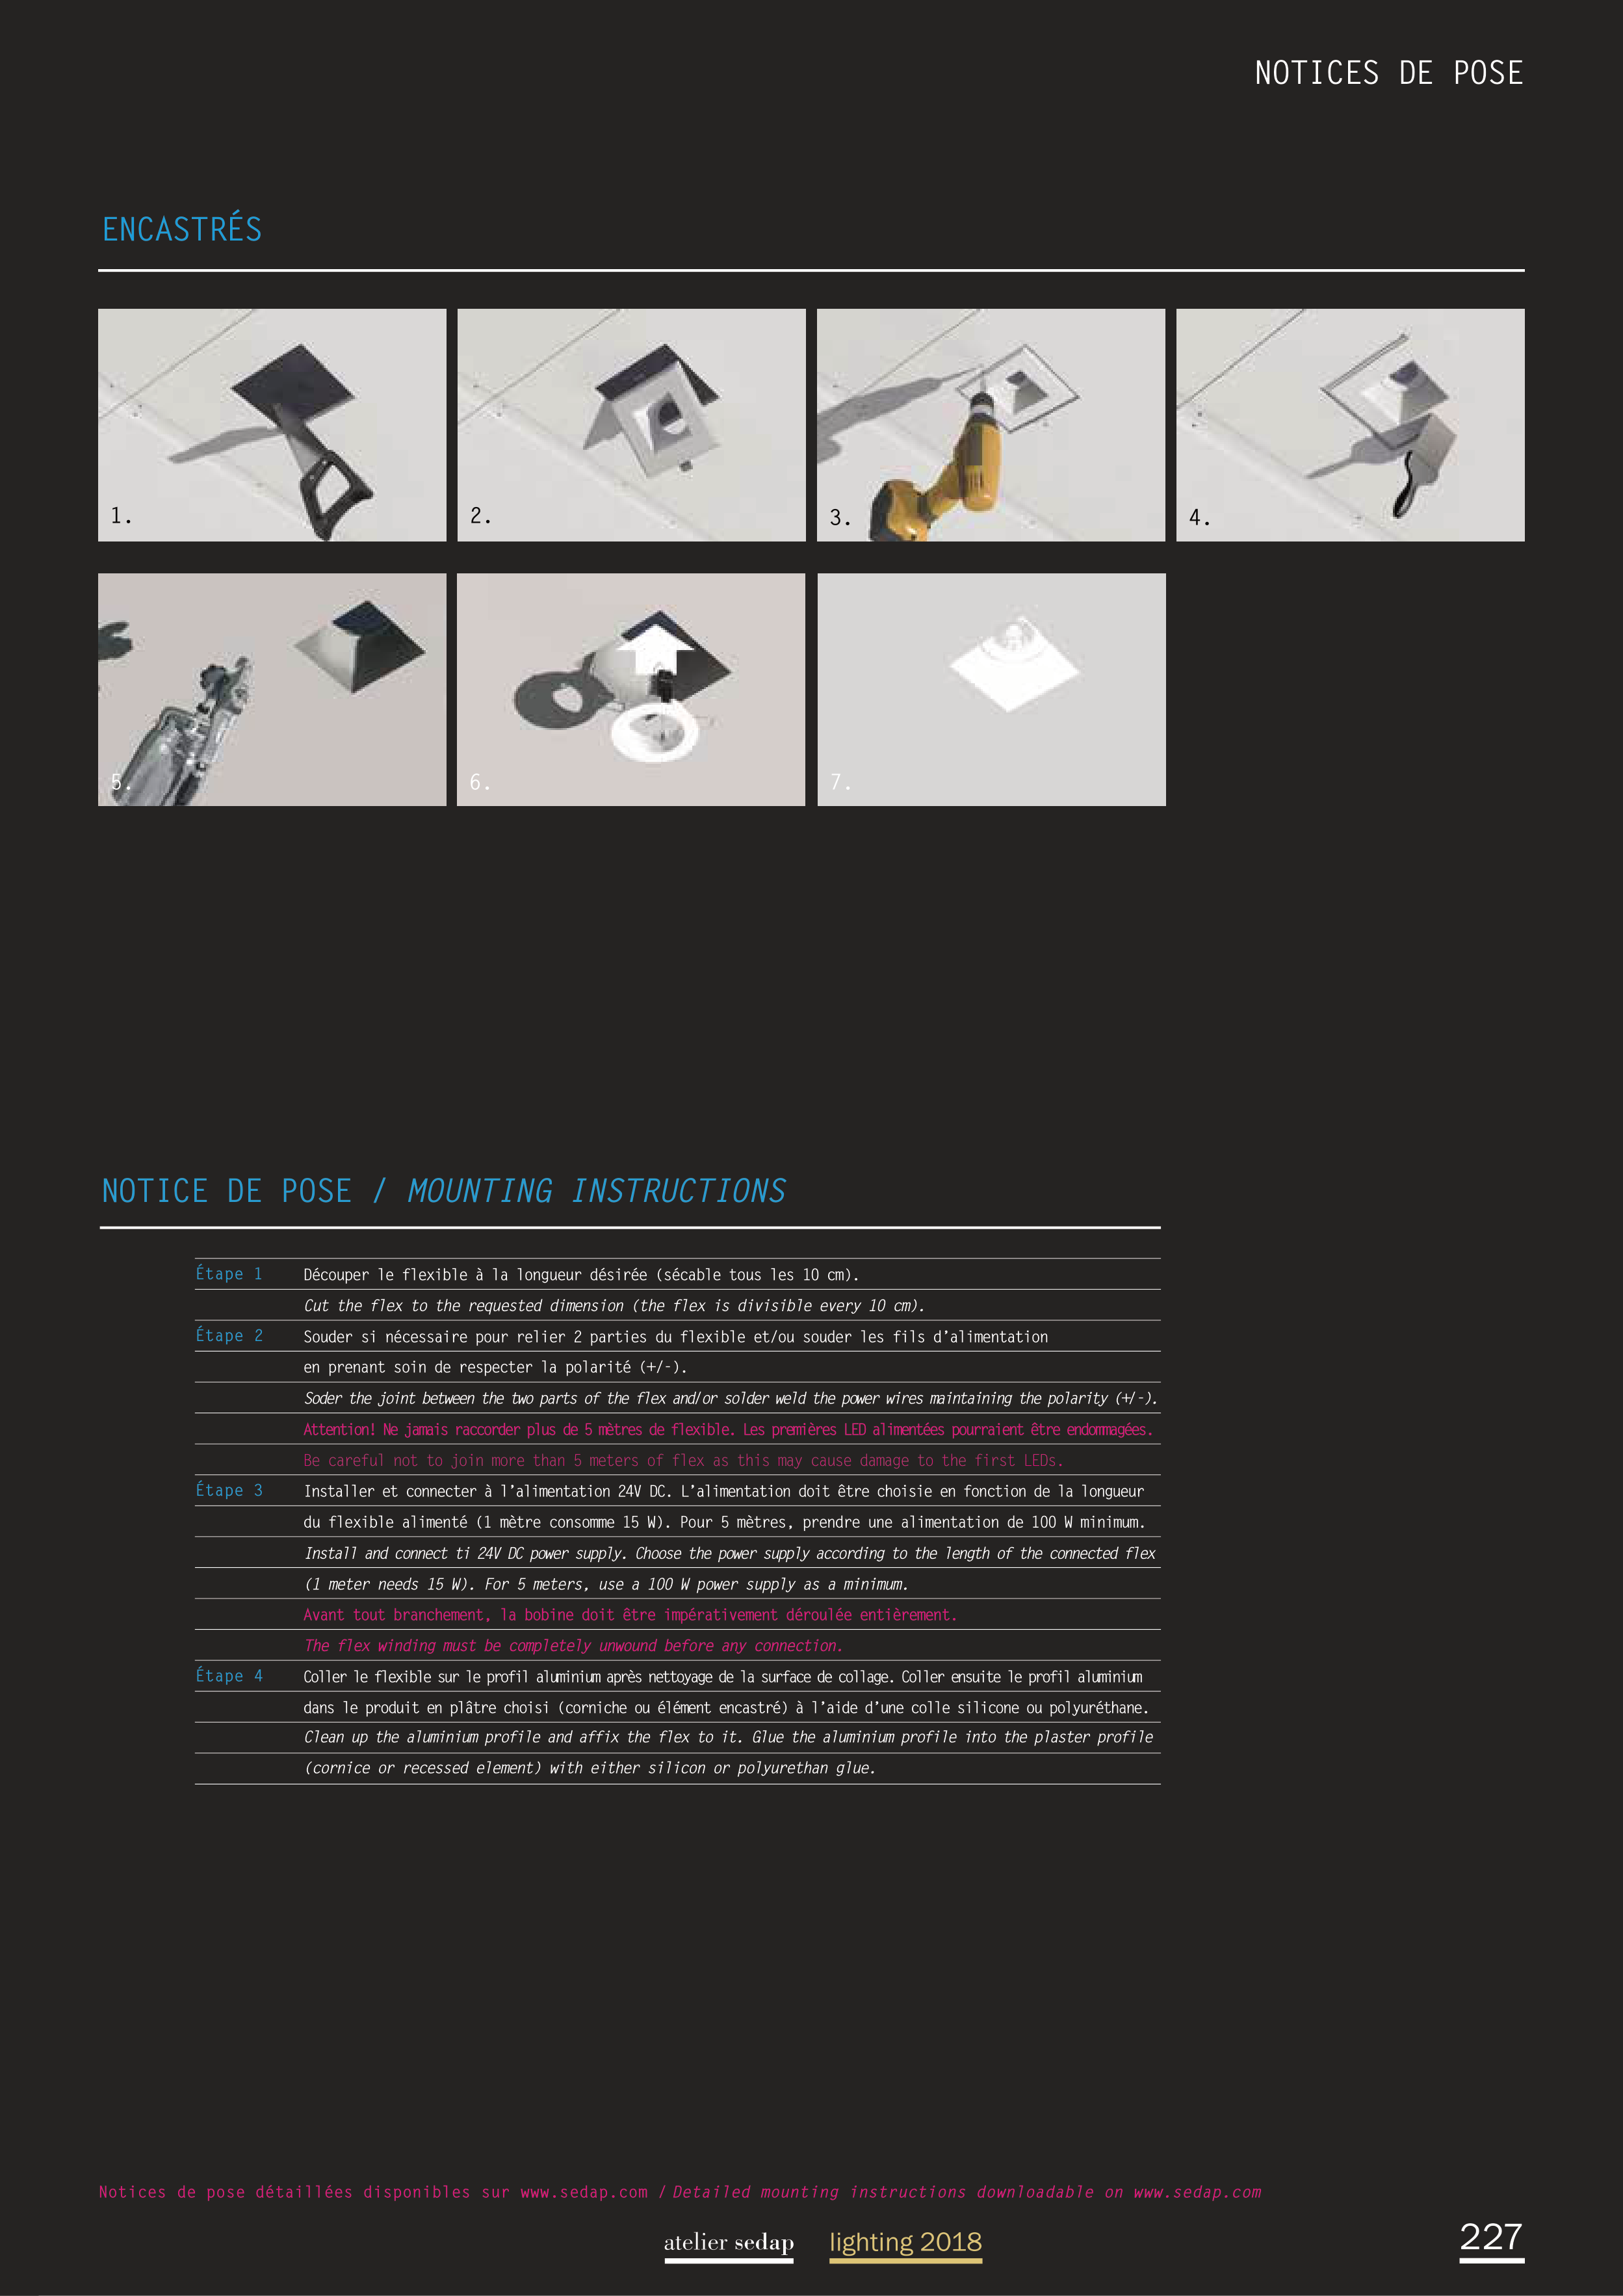
ENCASTRÉS
1.
2.
3.
4.
5.
6.
7.
NOTICES DE POSE
Notices de pose détaillées disponibles sur www.sedap.com / Detailed mounting instructions downloadable on www.sedap.com
NOTICE DE POSE / MOUNTING INSTRUCTIONS
Étape 1
Découper le flexible à la longueur désirée (sécable tous les 10 cm).
Souder si nécessaire pour relier 2 parties du flexible et/ou souder les fils d’alimentation
Soder the joint between the two parts of the flex and/or solder weld the power wires maintaining the polarity (+/-).
Attention! Ne jamais raccorder plus de 5 mètres de flexible. Les premières LED alimentées pourraient être endommagées.
Étape 3
Installer et connecter à l’alimentation 24V DC. L’alimentation doit être choisie en fonction de la longueur
Install and connect ti 24V DC power supply. Choose the power supply according to the length of the connected flex
Étape 4
Avant tout branchement, la bobine doit être impérativement déroulée entièrement.
Coller le flexible sur le profil aluminium après nettoyage de la surface de collage. Coller ensuite le profil aluminium
Étape 2
Clean up the aluminium profile and affix the flex to it. Glue the aluminium profile into the plaster profile
Cut the flex to the requested dimension (the flex is divisible every 10 cm).
en prenant soin de respecter la polarité (+/-).
Be careful not to join more than 5 meters of flex as this may cause damage to the first LEDs.
du flexible alimenté (1 mètre consomme 15 W). Pour 5 mètres, prendre une alimentation de 100 W minimum.
(1 meter needs 15 W). For 5 meters, use a 100 W power supply as a minimum.
The flex winding must be completely unwound before any connection.
dans le produit en plâtre choisi (corniche ou élément encastré) à l’aide d’une colle silicone ou polyuréthane.
(cornice or recessed element) with either silicon or polyurethan glue.
lighting 2018
227


