80
80
65
92
1 Fare eseguire l’installazione da personale qualificato.
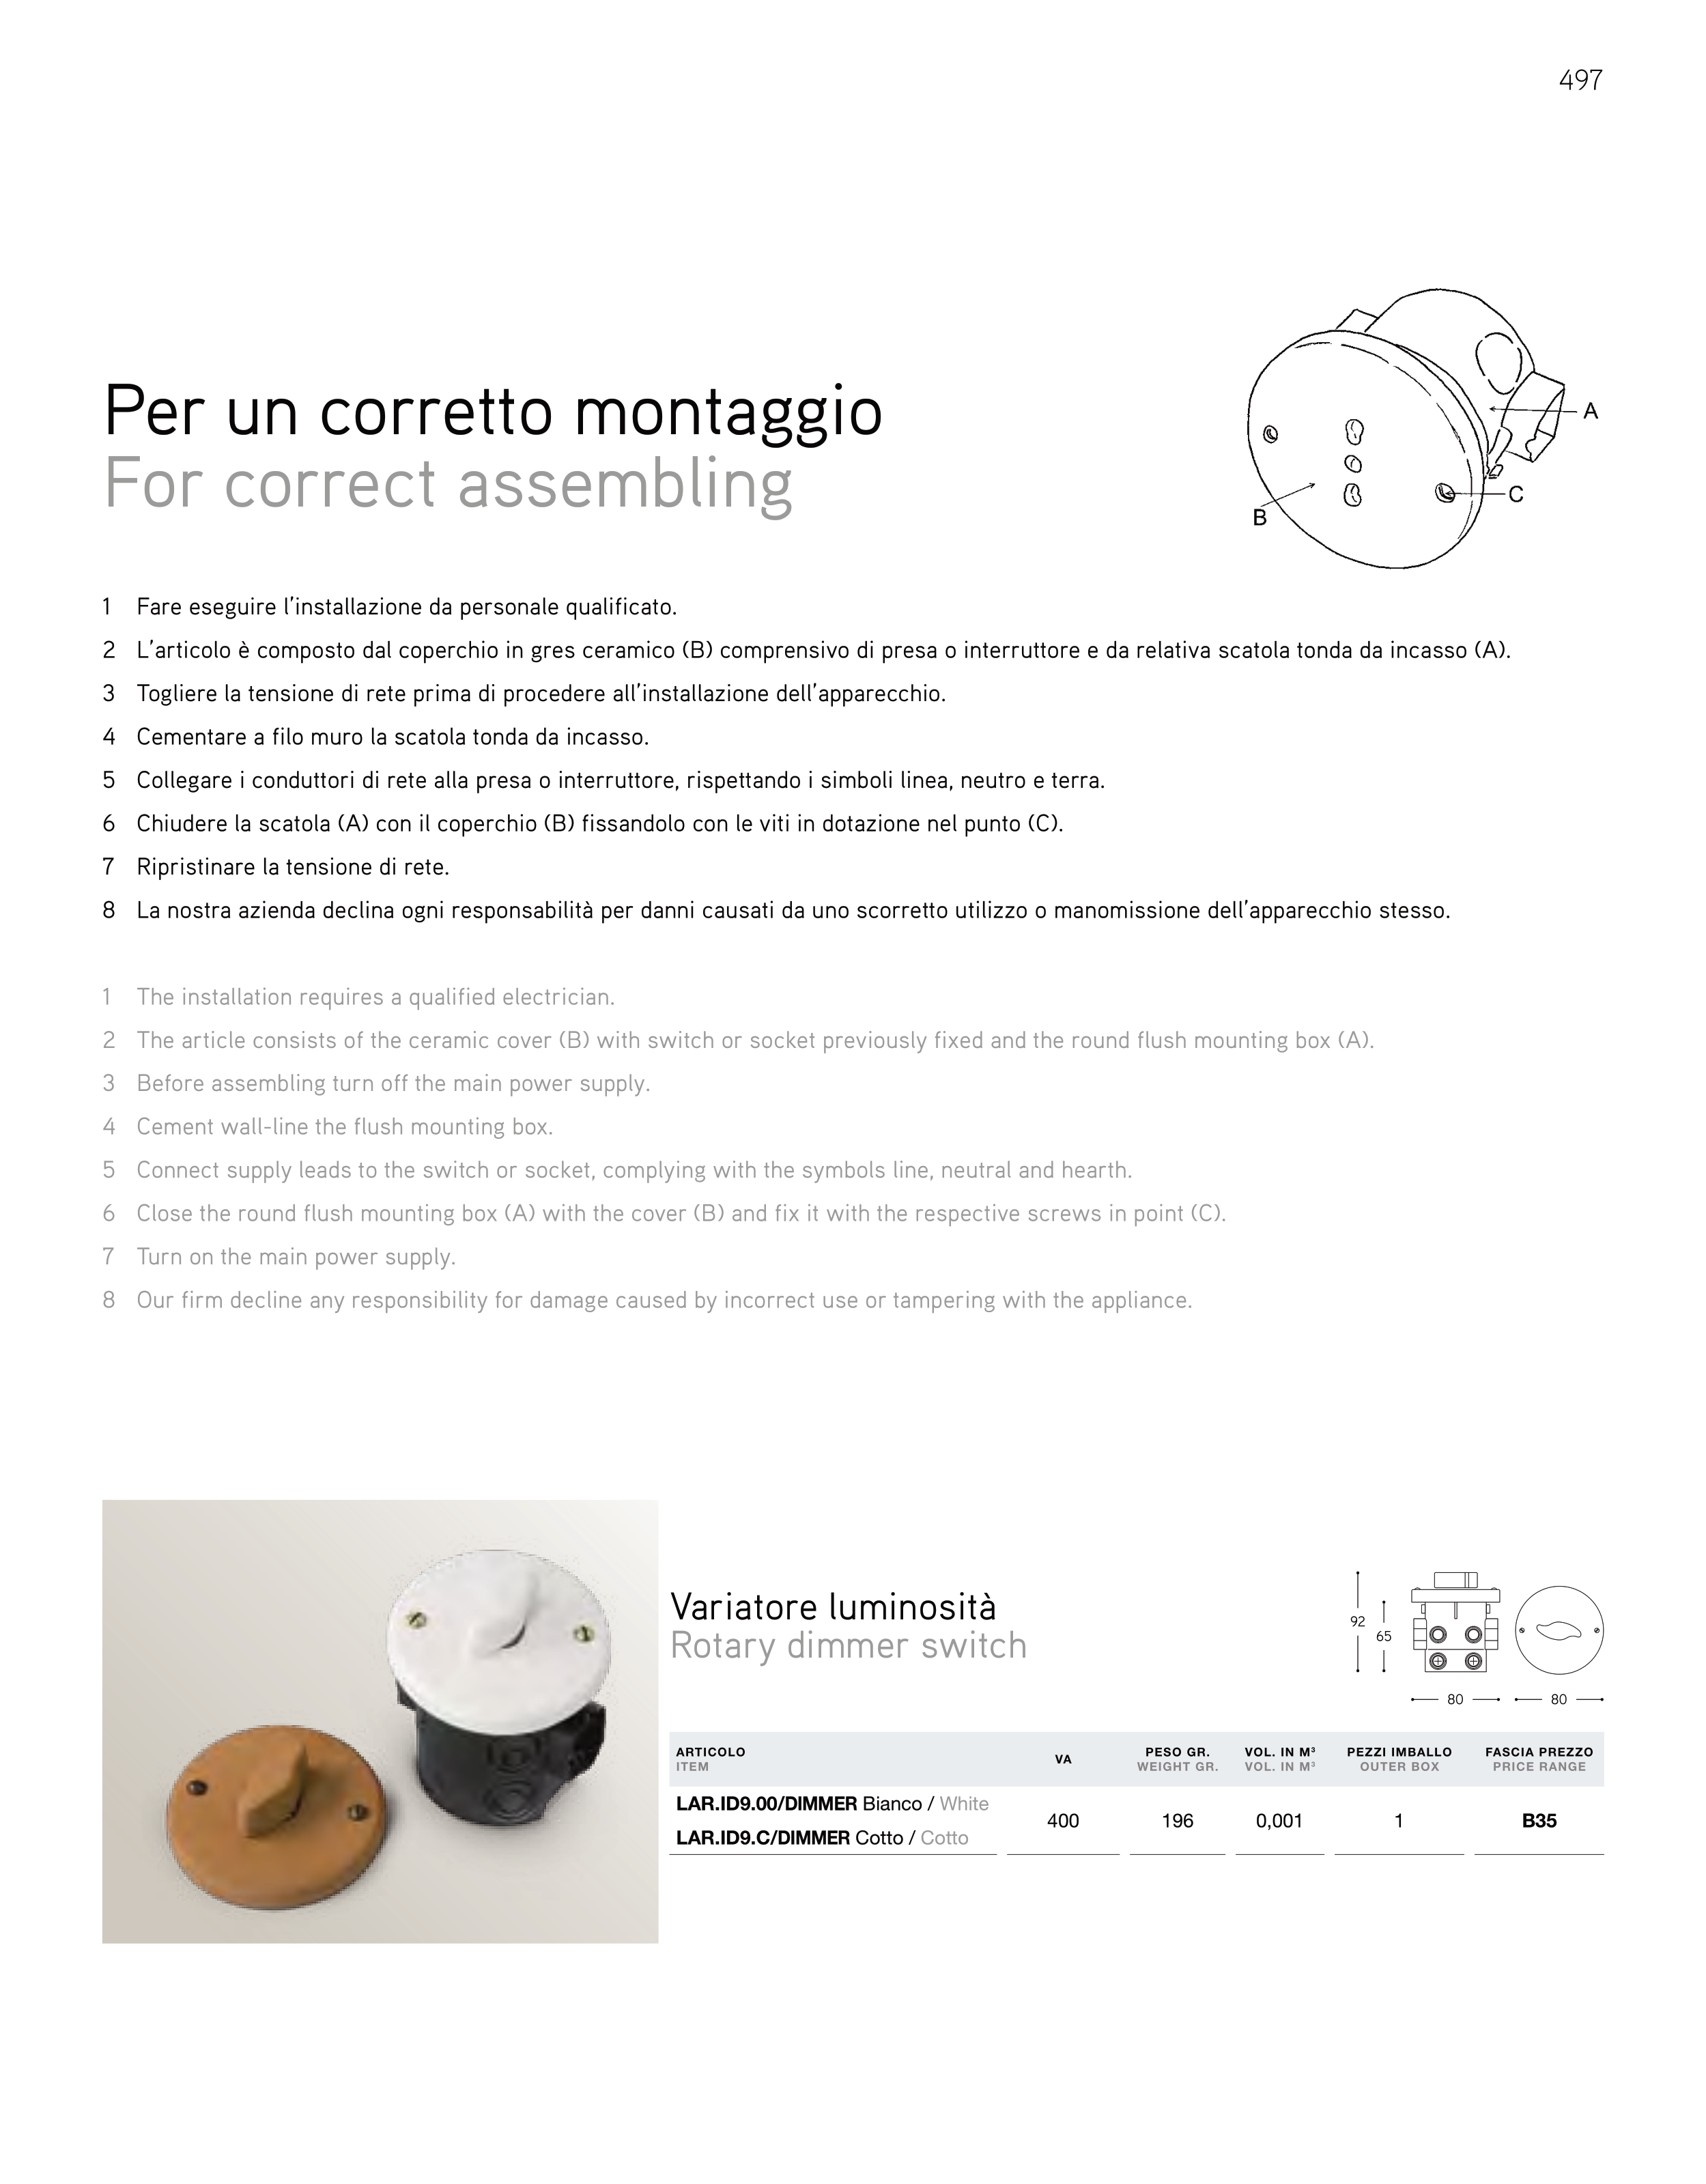
2 L’articolo è composto dal coperchio in gres ceramico (B) comprensivo di presa o interruttore e da relativa scatola tonda da incasso (A).
3 Togliere la tensione di rete prima di procedere all’installazione dell’apparecchio.
4 Cementare a filo muro la scatola tonda da incasso.
5 Collegare i conduttori di rete alla presa o interruttore, rispettando i simboli linea, neutro e terra.
6 Chiudere la scatola (A) con il coperchio (B) fissandolo con le viti in dotazione nel punto (C).
7 Ripristinare la tensione di rete.
8 La nostra azienda declina ogni responsabilità per danni causati da uno scorretto utilizzo o manomissione dell’apparecchio stesso.
1 The installation requires a qualified electrician.
2 The article consists of the ceramic cover (B) with switch or socket previously fixed and the round flush mounting box (A).
3 Before assembling turn off the main power supply.
4 Cement wall-line the flush mounting box.
5 Connect supply leads to the switch or socket, complying with the symbols line, neutral and hearth.
6 Close the round flush mounting box (A) with the cover (B) and fix it with the respective screws in point (C).
7 Turn on the main power supply.
8 Our firm decline any responsibility for damage caused by incorrect use or tampering with the appliance.
Per un corretto montaggio
For correct assembling
Variatore luminosità
Rotary dimmer switch
ARTICOLO
ITEM
VA
PESO GR.
WEIGHT GR.
VOL. IN M3
VOL. IN M3
PEZZI IMBALLO
OUTER BOX
FASCIA PREZZO
PRICE RANGE
LAR.ID9.00/DIMMER Bianco / White
400
196
0,001
1
B35
LAR.ID9.C/DIMMER Cotto / Cotto
497


